
Capnography sensor placement is one of those tasks that looks trivial and quietly is not. Put the sensor in the wrong place, or skip the zeroing step, and the monitor will still show you a number. It will just be the wrong one.
Most bad capnography readings are not device faults. They are setup faults. This guide covers how to apply the sensor properly, for both mainstream and sidestream devices, and the placement errors that trip people up.
Key takeaways
- Match the sensor type to the patient first. The airway decides it.
- A mainstream adapter sits between the tube and the breathing circuit, close to the patient.
- Zero the device in room air before you connect it, and let it initialise.
- Position the adapter so condensation and secretions cannot pool in it.
- Most bad readings come from setup errors, not broken equipment.
Before you start: match the sensor to the patient
The single biggest placement decision is made before you touch the sensor.
Mainstream sensors sit in the breathing circuit, so they need a secured airway: an endotracheal tube, a tracheostomy, or a supraglottic airway. Sidestream and microstream sensors draw a sample down a line, so they can sample from a nasal cannula, which lets you monitor an awake, free-breathing patient.
Get this wrong and no amount of careful placement will save the reading. See mainstream vs sidestream capnography.
How to place a mainstream sensor
The mainstream sensor reads the breath where it happens, so placement is about getting it in the right part of the circuit and keeping it clean.
- Choose the right airway adapter. Adult, paediatric and neonatal adapters differ, mainly in dead space. Use the size matched to the patient.
- Fit the adapter between the tube and the breathing circuit. It goes on the patient side, between the endotracheal tube connector and the Y-piece or catheter mount, so it sees the exhaled breath directly.
- Clip the sensor onto the adapter. The infrared source sits on one side of the adapter window and the detector on the other, so the sensor must seat squarely.
- Check the windows are clear. Dry, clean, unclouded. The light has to pass through them.
- Orient the adapter so fluid does not pool in the windows. Position it with the windows vertical rather than horizontal where you can, so secretions and condensation run past rather than settling on the optical path.
- Support the weight. Modern sensors are light, but the cable and sensor together can put traction on the tube. Secure the cable so it is not pulling on the airway, especially in children.
- Confirm a waveform. Do not accept a number without a trace. See endotracheal tube confirmation.
Many mainstream sensors are gently warmed, to just above body temperature, to keep condensation off the windows. That is what lets them work in a humid circuit. If your device does this, allow it to reach temperature.
How to place a sidestream or microstream sensor
Here you are placing a sampling interface, not a sensor.
- For an intubated patient, attach the sampling line to an airway adapter in the circuit, in the same position a mainstream adapter would occupy.
- For a free-breathing patient, fit a sampling nasal cannula. Seat it properly in the nostrils and secure it, because a loose cannula is the commonest cause of a falsely low reading.
- Route the line without kinks. No loops under the patient, no tension, nothing lying where it will be crushed.
- Position the monitor away from the patient, and check the water trap is fitted and empty.
- Account for mouth breathing. An open-mouth breather will not deliver a good nasal sample. Use an oral-nasal sampling cannula where available.
The failure mode to know: leaks, a loose cannula, or ambient air being drawn in will dilute the sample and give an artificially low EtCO2.
Zeroing the device
This step gets skipped, and it should not.
Zeroing tells the device what zero CO2 looks like. It is done by exposing the sensor to room air, which contains almost no carbon dioxide, for around fifteen to twenty seconds, before connecting it to the patient circuit.
Let the device complete its initialisation and autozero before you attach it. Connecting during the process can produce a wrong baseline, which shifts every reading that follows.
Placement errors that ruin readings
| Error | What it causes | The fix |
|---|---|---|
| Adapter oriented so fluid pools on the windows | Erratic or blocked readings | Reposition so the windows are not collecting fluid |
| Sensor not zeroed before use | A shifted baseline, wrong values | Zero in room air, then connect |
| Adapter too far from the patient | Diluted sample, blunted waveform | Fit close to the airway |
| Wrong adapter size for a small patient | Excess dead space, falsely low EtCO2 | Use the paediatric or neonatal adapter |
| Sensor cable pulling on the tube | Tube displacement, patient harm | Secure the cable, support the weight |
| Loose nasal cannula, mouth breathing (sidestream) | Falsely low EtCO2 from air dilution | Re-seat the cannula, use an oral-nasal type |
| Kinked or blocked sampling line (sidestream) | Occlusion alarms, no reading | Straighten, reconnect, replace if needed |
For what to do when the reading still looks wrong, see capnography troubleshooting.
Children and neonates need extra care
Two problems get bigger as the patient gets smaller.
Dead space. Every adapter and connector adds apparatus dead space, which dilutes the exhaled sample and lowers the measured EtCO2. In a neonate, that added volume is a large share of each tiny breath. Use the smallest appropriate adapter.
Weight and torque. A sensor hanging off a small tube can pull it out of position. Support the cable properly.
See capnography in paediatric and neonatal care.
A quick pre-use checklist
- Right sensor type for the patient’s airway.
- Right adapter size.
- Device zeroed and initialised.
- Adapter fitted close to the airway, windows clear and not collecting fluid.
- Cable secured, no traction on the tube.
- Waveform present, not just a number.
- Alarms set for the patient in front of you.
Where RespiCOz fits
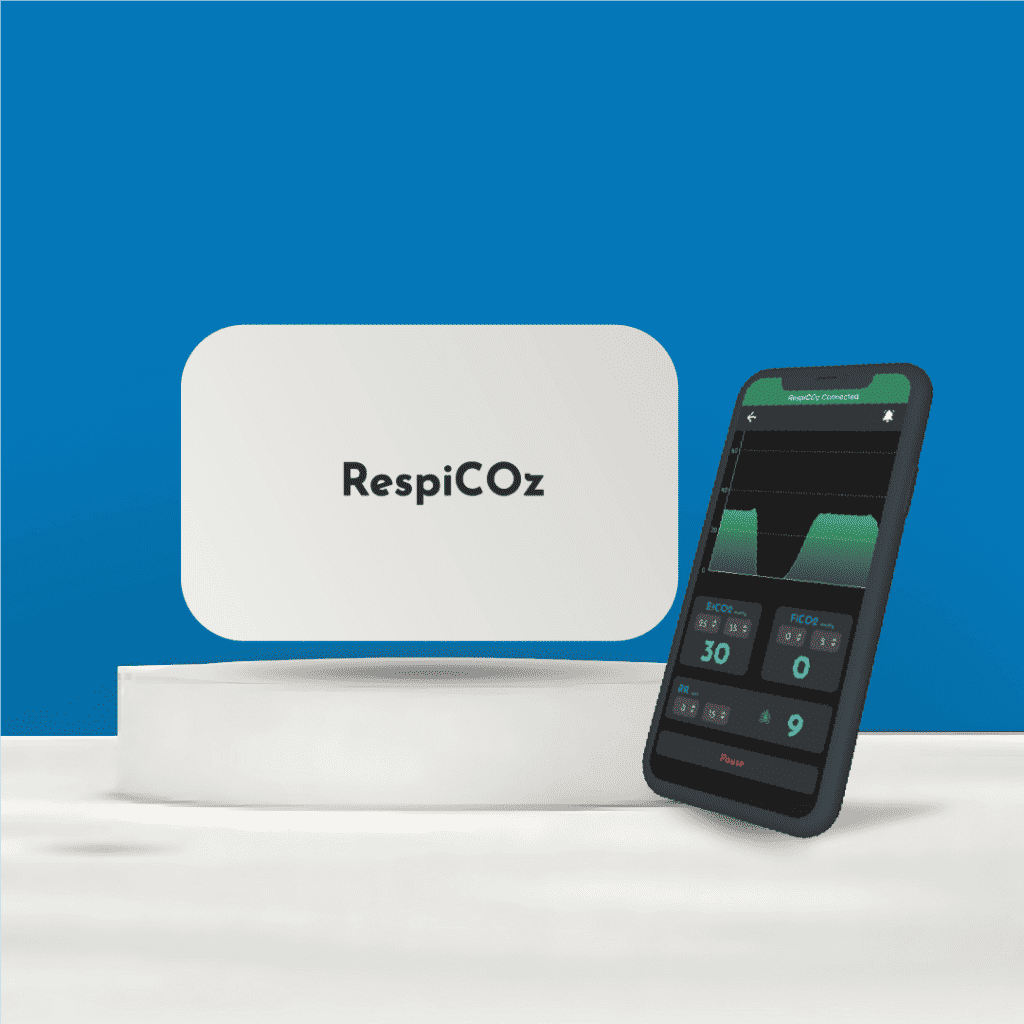
RespiCOz is a mainstream capnograph, so setup follows the mainstream steps above and is deliberately short.
The sensor clips onto an airway adapter in the circuit and reads the breath directly. There is no sampling line to route, no cannula to seat, no water trap to fit and empty, and no transit delay to allow for. That removes several of the setup errors in the table above before they can happen. The reading appears quickly, and it shows the value, the waveform and FiCO2 together.
The setup care that does apply is the mainstream care: use the right adapter for the patient, keep the windows clear, and support the cable so it does not pull on the tube.
RespiCOz is CDSCO-approved, made in India, carries a two-year warranty with a dedicated support team, and is priced in the value middle at ₹60,000 to ₹1,00,000. For how it compares, see the best handheld EtCO2 monitor guide.
Ready to buy? Request a quote for your hospital here.
Frequently asked questions
Where does a mainstream capnography sensor go? The airway adapter fits between the endotracheal tube and the breathing circuit, on the patient side, so the sensor reads the exhaled breath directly at the airway.
Do I need to zero a capnograph before use? Yes. Expose the sensor to room air for about fifteen to twenty seconds so the device learns what zero CO2 looks like, and let it finish initialising before connecting it to the circuit.
Why is my capnography reading low after setup? Common setup causes are a loose nasal cannula or mouth breathing on a sidestream device, a leak, an adapter placed too far from the airway, or too much dead space from the wrong adapter size in a small patient.
How do I stop condensation affecting a mainstream sensor? Position the adapter so fluid cannot pool on the optical windows, keep them clean, and allow a heated sensor to reach temperature before use.
Can a capnography sensor pull on the endotracheal tube? Yes, particularly in children. Secure the cable and support the sensor’s weight so it does not put traction on the tube and displace it.
Conclusion
Capnography sensor placement decides whether the number you read is true. Match the sensor to the airway, fit the adapter close to the patient, keep the optical windows clear and dry, zero the device before you connect it, and secure the cable so it never pulls on the tube.
Do those five things and most capnography problems never appear. The rest are covered in the troubleshooting guide.
For what to do when a reading still looks wrong, see capnography troubleshooting.
References
- Capnography. OpenAnesthesia. Apparatus dead space, sensor heating, and sampling considerations. openanesthesia.org
- Types of Capnographs. Capnography.com, Bhavani Shankar Kodali. Mainstream adapter and sensor design. capnography.com
- Capnogram slope and ventilation dead space parameters: comparison of mainstream and sidestream techniques. NCBI PMC. Sensor position between tracheal tube and Y-piece. pmc.ncbi.nlm.nih.gov